
Had an idea for a shot that didn't quite turn out how you expected? Don't fret. Save the day in post processing. The above is how I pictured the shot in my head. A strong contrast B&W with a view outside the window. However, what I ended up with was the following.
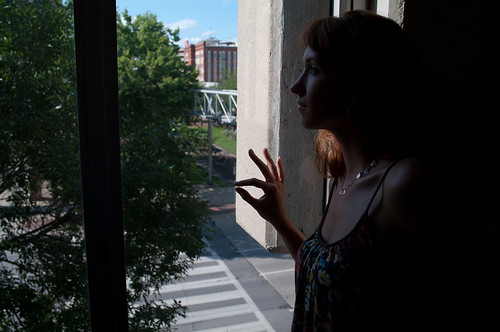
I wanted her hand on the window, but when I converted to B&W it was in an awkward position that looked like she was giving a sign in mid air once I corrected the exposure. The initial shot was under exposed by about 2 f-stops from what I wanted. The light on her face wasn't strong enough relative to the outside light, and overall it would appear a dismal failure.
So how did I save the image? An inexpensive layer editing program for the Mac called Pixelmator
Once in Pixelmator you duplicate the layer, adjust the exposure how you want, put the original layer on top, and then erase the original area where you want the adjusted areas to show through. Once you complete that step, you can merge the layers back into one. You repeat this several times until you end up with an image how you want.
After the exposure was set right I cloned out the awkward looking hand, and applied any other filters I wanted.
The question always remains, why didn't I just capture the photograph how I wanted in the first place? Well, first off, the camera doesn't allow strong enough curves for my B&W tastes, so post processing is required. And sometimes, you just don't see the shot until you get home and start processing. The important thing with B&W conversions is to capture the difference in light with the camera. Processing can be used to tweak it exactly how you want.
Eric

No comments:
Post a Comment