I wandered through their selection and found some CFL bulbs that were daylight balanced for $8.00 each, but that is fairly pricey given they are only 27 watts or so (and probably not as bright as an equivalent tube fluorescent with external ballast). I would probably need 6 or 8 of them to get the scene bright enough, and I would have to make a suitable fixture to hold the bulbs by wiring something up.
Instead I wandered the fluorescent fixtures and found a Lithonia Lighting Shoplight for $10 ea, and they each take 2 T12 bulbs, which matched the Philips Natural Sunshine (5000k and 92 CRI, color rendering index) bulbs that they had for about $5 each (40 watts, 2200 lumens). The only other tube T8 bulbs that were near daylight or flash color temperature had to be purchased by the case. I was hoping for a fixture with a nice diffuser, but they were all in the $50+ price range (per fixture), and it turns out the fluorescent tubes are soft enough light without any diffuser.
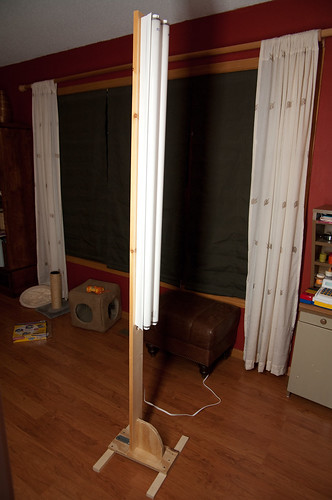
The only trick was mounting the fixtures, they were designed for hanging so they aren't supposed to be flush mounted. I built a simple stand using some 1x4" pine I had left over from other projects, and hung the lamp at the top using a 30 lb picture frame hanger, and drilled a large hole in the middle right below the lamp to feed the power cord through and keep the lamp from swinging. Very simple to make, I was able to complete the project by my deadline (before the Season finale of Lost), and under my budget of $50. If I had to buy the wood it might have cost more like $60.

The important thing with the base is to make it wide enough that the lamp doesn't tip over, and make sure the vertical is supported on at least one side by a sturdy bracket. I originally tried just the metal L bracket I had laying around, but it wasn't sturdy so I added the wood support as well.
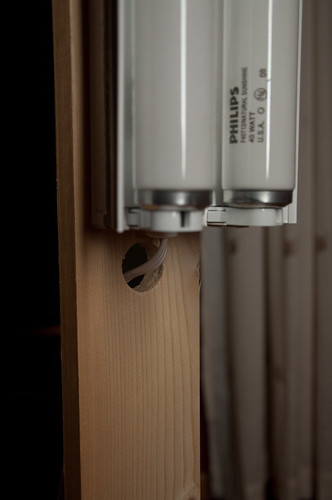
The hole keeps the lamp from swinging around and also keeps the cord out of the way.

I have mine supported only by a picture frame hook. I wouldn't mind adding a sturdier bracket to support it, but build according to your needs. If you have a dog that might knock the thing over you might want to build the base a little larger and attach the light more securely (although my picture frame hook seems more than adequate).
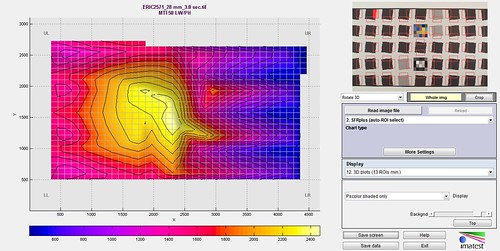
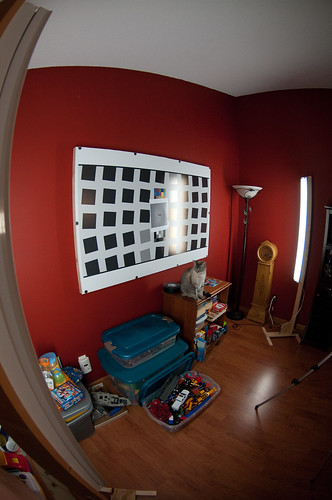
Enjoy. This is useful for still life photographs, misc small objects, etc. I don't think the light color would be up to critical work, but does well enough for my test charts. I am not testing color though. Overall this is a nice setup that produces almost no heat. The lights do flicker a little, not enough to be very visible, but enough that it tricks the camera meter a little.
Eric