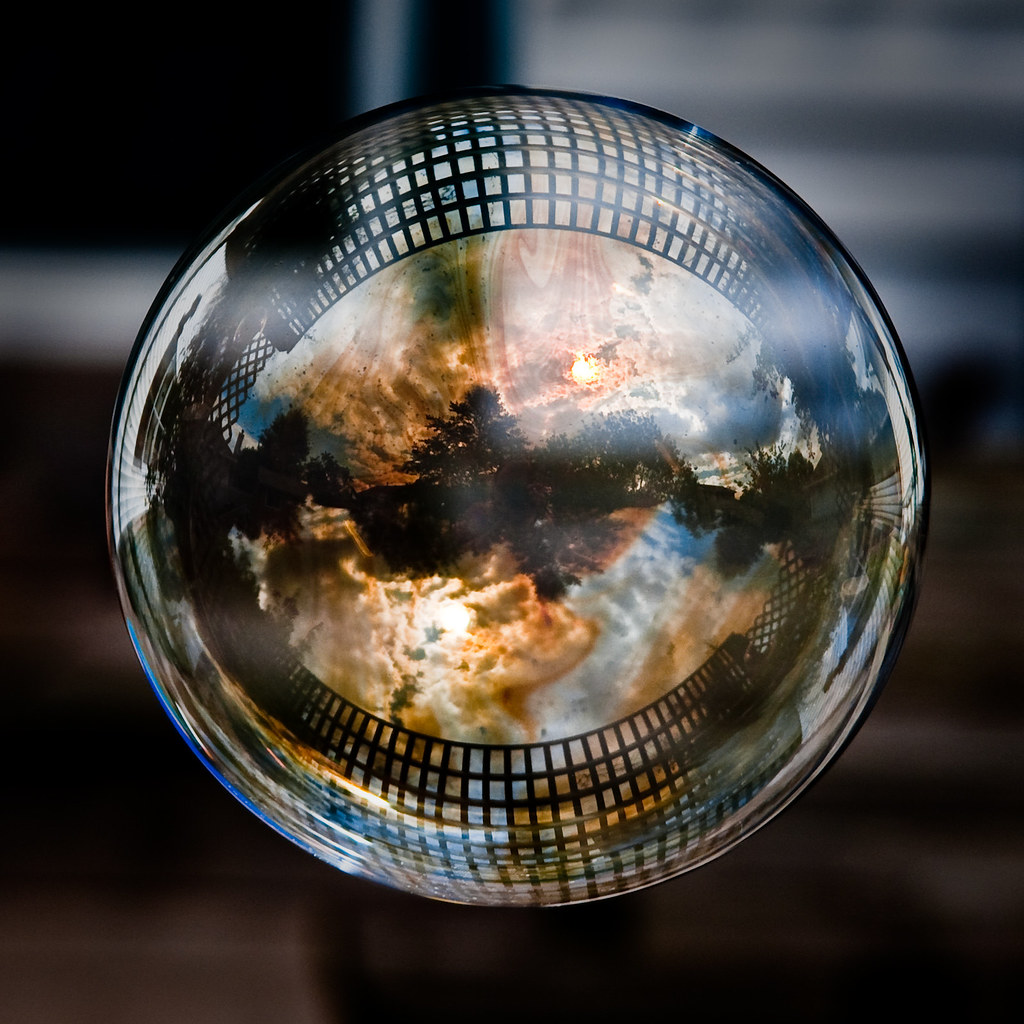
I was out enjoying the weather yesterday afternoon when my wife decided to blow some bubbles to entertain our son. I had the camera out, and thought it would be great to capture some photographs of the bubbles. I have tried before, but I have never been very successful. After nearly 100 attempts, this is my favorite.
What I learned in the process is you want to use AF-C (or your cameras continuous focus mode) with all focus points selected. The bubble itself doesn't have very strong contrast, so you will probably need some good reflections to help the camera lock focus on the bubble.
You need big bubbles. This bubble was about 8" in diameter. Search google for "Big Bubble Solution" and you should find some stuff that will work. Most big bubble solutions contain a mix of soap, glycerin, and water. The bubble solution in the colored jugs most of us used as kids does not hold up well for big bubbles.
Close is best. The reflection on the bubble takes on a more interesting perspective when you get up close and personal with it. A close focusing "macro" zoom is ideal. I used the Sigma 17-70mm f/2.8-f/4.5 and it worked out well with its ability to focus right up next to the lens surface, but anything with a minimum focus around 1 to 2 ft should be fine.
When shooting the bubbles, I set to continuous shutter release, and follow after the bubble trying to keep it in focus. Tricky backgrounds will sometimes trick the camera to focus on them instead. Just release the shutter button and try focusing again. Obviously wind is not conducive to catching a good bubble shot. Every time a gust hit my bubbles were gone.
The bubble primarily reflects what is behind the photographer, and thankfully, the photographer gets mostly cut off at the center. It seems to use a fisheye like projection, with a mirror image in both hemispheres, especially visible if the sky is much brighter than the ground. If the sky was darker the image might look a bit more like a circular fisheye, I would think.
So get out there, and try some of your own bubble shots. Try various bubble solutions, and different locations. I want to try one downtown by some tall buildings and surrounded by fire. Go have some fun capturing your own little fragile worlds.
All this talk of bubbles has me reflecting on my own life. We all live in our own little world. Our life follows certain patterns, and if those patterns are interrupted by even the slightest breeze, our life can change course. It is amazing how one seemingly small decision we made 10 years ago dominates our entire life in the present. What would have happened if you didn't make that phone call 10 years ago? How would your life be different?
We are driven by small currents that twist, turn, and combine to drive our life. Capturing photographs of bubbles is like capturing one of these small currents. We realize how fragile and delicate our lives can be. I love photography because I can capture these special moments.
Eric Tastad
See the rest of my flickr photos:
http://www.flickr.com/photos/28177041@N03/