Wednesday, May 6, 2009

The Depth of Infinite Field

I found a new toy to play with. I have been taking some photographs of flowers lately, and I found I have been wanting a shallow depth of field to blur the background sufficiently, but that leaves too little of the foreground in focus. A friend suggested I try Helicon Focus, a product that stacks images focused at different points into a single image that combines the focused areas from the composing images.

The ability to stack images to make a single image with a deeper depth of field useful for macro or closeup work where the sharpest f/stop for many modern digital cameras is limited to around f/8-f/11 to prevent diffraction from softening the image. Many macro shots might require f/22 or higher to get the desired depth of field.

There is also something known as "hyperfocal distance". If the lens is focused at the hyperfocal distance, everything from half the hyperfocal distance to infinity should be acceptably in focus. In reality though, the closer to infinity or the near range the subject is the softer they will become. Print or view size and distances determine what the true hyperfocal distance is. The problem with hyperfocal distance is it can be a very long ways out for a telephoto lens. You might have to be 200 ft away from your subject.

A solution is to use the Helicon (or equivalent) software to focus at multiple points between the subject and infinity (or the final focus point). These images are then stacked to produce depth of field unachievable by stopping down. A tilting lens/view camera can shift the focus plane out towards infinity, but at the expensive of defocusing somewhere else. This can put the entire picture in focus.

Since perspective is controlled by where you stand relative to the subject (and viewing distance from the print/image), this allows the photographer new ways of achieving differing perspectives. I can use a telephoto/macro lens to photograph a very long object away from the lens and keep the entire length in focus.

The big restriction is you have to take multiple images, so it won't work well on moving subjects. Thankfully they build in some manual retouch tools as well to fix small amounts of movement, etc, but forget it if you are trying to photograph flowers in the wind.

The program is amazingly intuitive to use, and it worked correctly the first time for my simple watch example. On more complicated images where there is a lot of blurring of the background it can be a bit trickier. As an object blurs in either the foreground or background the blur becomes larger the further it is from the focus point. These blurs, for the lack of a better word, can confuse the tool sometimes. Thankfully there is a manual retouch feature built in that works a lot like the selective brush in Lightroom 2 combined with a tool like Clone in Photoshop.

A second problem when focusing on objects progressively further away is the lens focal length changes, and sometimes this is quite substantial, especially with internal focus (IF) lenses. The focal length is measured at infinity. A lens like the Tamron 18-250mm, which is a fine lens BTW, might only be 150mm at close focus, and doesn't reach 250mm until infinity. This causes objects to scale differently and your field of view to change. Thankfully, the tool compensates for this quite nicely automatically rescaling the images to be the appropriate size.

My main lessons learned are to overlap areas of focus a bit, don't use on moving subjects, and watch foreground/background blur that can cause artifacts (see the Iaito, practice sword, above), and use the smallest aperture you can get away with as it limits the problematic foreground/background blur.

I am thrilled to find such a tool, thank you Ryan, as it brings more depth to my photography, horrible pun intended.

Eric

Monday, April 13, 2009

To UV or not to UV


Invariably the store salesman will try to sell you a "protective" filter for your newly purchased lens, and likely your dad always had a UV filter on the lens, so you think why not? It can't hurt anything, right?

Well, besides costing an arm in a leg for high quality filters, or just being overpriced for some others, a digital sensor does not need a UV filter. A UV filter was added to a film camera to prevent hazing of the film in strong UV. A digital camera sensor is not particularly sensitive to UV light, so no UV filter is needed.

Well, if you don't need the filter for UV, what about to protect the front element of the lens from accidental damage? This is up to each individual user, but there are a few points to keep in mind before buying a filter for protection.

A protection filter is a glass (or plastic) element that is added between the image and the sensor. Each air-to-glass or glass-to air surface reduces the light available to the imaging sensor. A cheap uncoated filter could easily cut the available light by roughly 8% (http://www.astrosurf.com/luxorion/reports-coating.htm), and also cause internal reflections that cause a ghosted image to appear on the sensor.

Also, a poorly ground filter could have irregularities in it that defocus light causing soft images. This is especially true in circular polarizers.

So if we buy a multi-coated filter, we can reduce the light loss to a much more reasonable 1 or 2%. This will have minimal impact on image quality, contrast, and sharpness. But at what cost? The B&W and Heliopan filters are very expensive, running from $40-$150 per filter. You almost need a filter protector for your filter protector! These clearly won't help your image quality, but shouldn't hurt it noticeably either.

"What to do? I don't want to damage the front element of my lens". Well, first off, that front element is actually really durable. It will take something harder than the coating to scratch it, like sand, dirt, or a file. Careful cleaning won't harm the front element in the slightest.

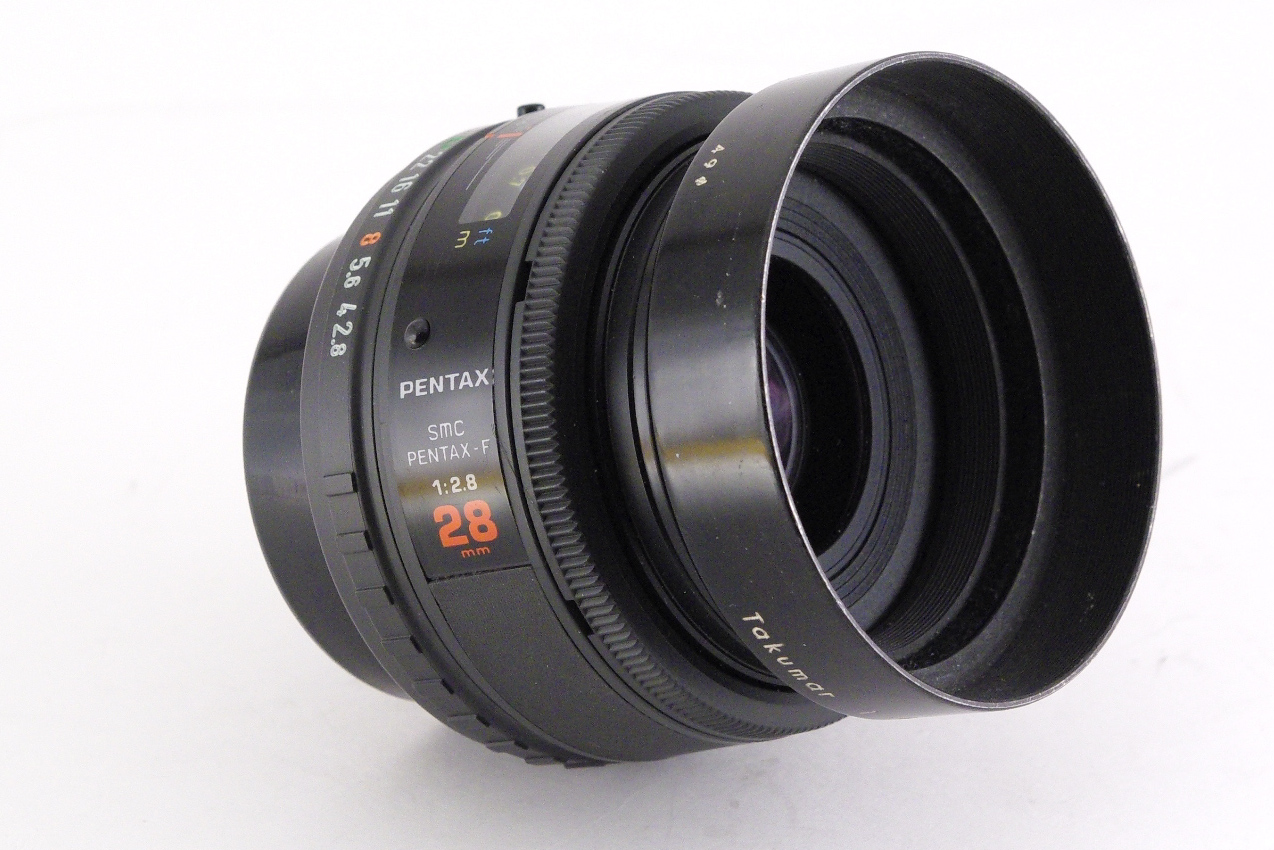
Use your lens hood. A lens hood sticks out in front of the lens and helps protect it from getting hit by random objects, and at the same time it prevents stray light from hitting the front element of the lens. This stray light reduces the contrast of your image.

Consider getting insurance for your camera gear. According to Photo.Net it is about $1.50 / $100 of insurance with no deductible, or about $15 for a year for a $1000 lens (http://photo.net/learn/insurance). It would take 4 to 10 years to equal the price of the "protection" filter and it would cover against a lot more than scratches to the lens. Just make sure your plan covers accidental damage, and any other protection you want.

"Well, I didn't use a protection filter, and my lens got a tiny scratch when I was shooting beach volleyball and tried to get a little close to the ground for that great perspective shot when I got stepped on and buried my lens in the sand. What do I do now?"

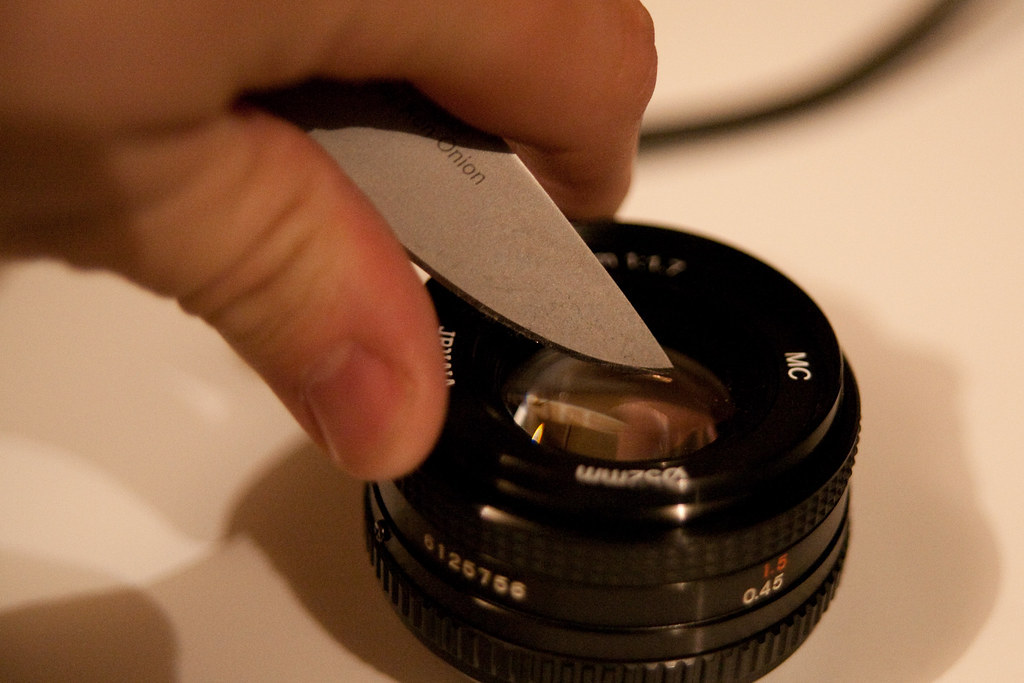
Don't panic. A scratch on the front element of the lens is not the end of the world. It will only serve to reduce contrast slightly and could possibly cause flare spots when looking into bright lighting conditions. More than likely you will never notice a small scratch on the lens in any of your pictures.

If the scratch is bad enough, the front element of the lens is replaceable. Although this will cost more then the UV filter, it is cheaper than a new lens. Some pro Canon and Nikon lenses even have a built in lens protection element that is designed to go in front of the contoured elements that is relatively cheap to replace.

"Should I use a filter?" That is a question only you can answer. If you are shooting in an unusually harsh environment I would definitely consider it. If you do use a filter, get a quality multi-coated filter. Spending a lot doesn't mean you will get much better image quality, but you do want the coated filter to prevent image quality loss from less light transmission, flare, and ghosting.

A good filter will cost a significant amount of money, so it might be pointless to add one to your kit lens that can be replaced for about the same cost as a good lens filter. Do use your lens hood, and do learn how to clean your lens effectively. I will post a blog post at another date with how to clean a lens effectively and efficiently.

I personally don't use a filter, because they certainly don't help image quality, but I sure like buying used lenses that have always had the filter on. They tend to be spotless underneath, making my job of cleaning them up far easier. No one way is right, but this quickly turns into a holy war on any photo board. Get out there and enjoy your shooting!

Eric

See the impact of a scratched lens element at my flickr page.

Friday, April 3, 2009

Home without a Home

I am never disappointed when I go on a photo shoot. Sometimes I don't get the photo I wanted, but I always learn something. Tonight was no exception.

We decided to go for a night shoot downtown by an industrial park. We set up across the river, and there was a mixed variety of light at the paper plant across from us. The light was playing nicely off the river, and the night was relatively clear.

We were shooting away from the dike when a gentleman in blue coveralls approached us once he realized we weren't dealing in the parking lot, and asked us what we were photographing. He had been on his way to his home, underneath the bridge and we were directly in his path.

We chatted, or listened, for a while, heard stories about the new federal building they were building and how he had fought in Vietnam, and heard stories about what he does for a living. He enjoyed the outdoors, and didn't mind being homeless much. He suggested we photograph him to show how the homeless live in America.

He invited us to his home, under the bridge, where me and a couple others decided to follow him. He explained he slept in the dry spot up under the substructure on top of the dike, right above a jogging path.

He told us stories about some of the odd jobs he has had, some his favorite grocery store, and about some of the things he has done. He had us take a few pictures of his home, and all he asked is for us to do something nice for someone else (and if we wanted to leave anything for him, just put it under his blanket). I gave him a flashlight I had on me, all I had to give.

He was an honest fellow. His name was Willie, and told us what was on his mind. He said the few dollars a friend gave him was going to be used to buy another beer. He admitted he was where he was because of decisions he had made. He was just happy to have someone to talk to. He said we made his night. That made mine.

This interchange made me realize how much I have. Even a person with an old beat up car, 4 walls and a roof to call home, food in the fridge. How wealthy that person really is. Most people in the world still live like Willie.

I am not saying to feel bad if you have a lot of material wealth, but it is a reminder to not take for granted what you have. What I am saying, is the truly valuable things we have in life are the friendships and bonds we create. Experiences like this are why I love photography.

Eric

See the rest of the pictures here: http://www.flickr.com/photos/28177041@N03/tags/willie/